Thursday, 11 September 2014

Character Summative - GA2A01

We were given around two months to make our own character model. The only rules we had to follow was that the character model had to be Bipedal and not Quadrupedal or Digitigrade. Also we had to make three LOD's of the model. One at 15K, one at 7K and the final one at 1K.
So for my Character i 1st decided on going with a deep sea fish like a dragon fish humanoid. 


But what i didn't realize is that something similar had already been done. Ben Ten character Rip Jaws although is originally referenced by a Angler Fish was to close to my idea and i didn't want people getting confused.
 
I then went on to think about another animal i could use, something that was cute but also very deadly. So I Googled cute but deadly creatures and this little guy came up.


This is a Slow Loris, one of the most cutest animals on the planet but don't let its size fool you because this primate has a wicked bite. These animals have glands under its fur that secrete a toxic bacteria that is deadly to pretty much everything including humans. It uses its tongue to spread the toxic over its body there fore giving this animal a deadly bite.
I also took references images of the face and hands especially because they are very different compared to other primates. The index finger is by far smaller compared to the middle finger. Also the mouth of a Slow Loris is were the chin should be but it all most looks as if the chin is non existent.


With all this research i started on concepts for my character. I tried multiple builds, shapes and sizes to started off with. Then gradually broke them down into fewer and fewer until i decided on one.


When i was happy with my final concept i went further and started on concepts for facial hair, to give the character more character.

So from this i drew up my Orthogonal  character model sheet. I wanted the character to have some sort of Ninja feel to it but still have the authenticity of being from the jungle. So all of his armor would be made from things like bark, vines and leaves.  

So from here i went into Zbrush and used Z spheres to make the base mesh of the character. From there worked on modelling the character untill it was ready to be put into Maya. I used the Z re-mesh tool which did help but left a ton of unnecessary edge-loops. 


This was the final product, i was happy with the way things came out but there was a few errors with some of the maps. My Specular map didn't come out the way i had hoped also my idea with just baking the normals onto the Armour itself was good but it left the character model looking flat. I originally was going to use planes and just apply alphas to them as you can see by the feet and fore arms. Again this was miss judged because there was a limit to how many poly's you could use. This was my first time using the Z re-mesh tool which showed in my final product. In future i may just retopologize  the entire character in Z brush rather than use Z re-mesh.

Wednesday, 25 June 2014

Hard Surface Weapon


This was our first formative for hard surface weapons. It is a W.I.P due to the fact that we will be using them in our end of year portfolio. So all the formatives I have previously been posting will change over the duration of the year and I will be updating them.

So I decided to make a Winchester Shotgun which was used in World War 2. 
Here is my reference images. 

For this I had to make separate pieces for my model, previously I had tried to bake my normals from my high poly to my low just as one piece but that didn't turn out as well as I had thought out. So I pretty much had to separate the pieces such as the barrel of the shotgun, stock etc.
After that I exported each piece ( high and low poly) and used X normals to generate the normal maps. Using Photoshop adjusted the normal maps of each to align with the UV's.


I will be going back over this to fix any texture issues or even go over it again entirely depending on what new techniques we learn during the year. But as of now I'm quite pleased with the result......so far.

I am also thinking of using this weapon for our first person shooter animation which will consist of a reload animation, an idle etc.


GA2A03_RTA ( REAL TIME ANIMATION )


So for this formative we had to create a 3D environment animation according to the following specifications.

Development Specifications
1. break object into elements for animation
2. Create an idle, an active, a Deactivate and 2 fidgets
animation should be all in one file
3. Render out the animation 320x240

So the environment prop I made was a gas mask keeping to the theme of World War 2.


As for the Normals this was my very first attempt at modelling in Z brush and retopologizing my low poly and transferring that into Maya. As a result my normal maps didn't really come out the way I had hoped. There was issues with stretching but over all it the end product was mainly for animation purposes.  


Animation
My idea for the model was that it would be an item you pick up in game. So as the player clicks onto the item it plays the short animation and get put into inventory.


Thursday, 29 May 2014

GA2A01 Advanced 3D Weapon Model


We had to come up with our own weapon so I decided to model a forearm mounted weapon.


Designed a Mood Board


Designed Concepts


The Final Product


Normals came out great. Textures came out great as well.
There was some issues I had to address with the Normal Maps but I managed to fix those problems.

Wednesday, 19 March 2014

BCT - GA2A01 ( Advanced 3D Modeling)

Environment Asset GLM

This was the very first assignment we got the first week back. We had to get together and form groups and from those group we were given three themes. Sci Fi, Western Steam Punk and World War 2. From these themes we were told that we had to build a modular level. But each individual with in the group had to make a piece. This proved to be difficult due to the fact that as a group we would have to communicate with the group at all times so that if changes were made say like the texture or colour that everyone knew and could change their piece too.

So this was my low poly mesh which was made in Maya. I chose to make the corner piece for the modular level.


I then went and exported the object and imported it into Z brush. Out of all the groups we chose the hardest theme because we had decided on WWII so our first idea was trenches so there was going to be a lot of organic elements to the models. So using the low poly I went into Z brush and created a high poly object.


After this I went back into Maya and baked the high poly onto the low poly. I also created wooden steps using this same method. This was the outcome of the wooden steps that I would later on combine with the main corner piece.


The team gathered a set of textures that we all stuck by including textures for the wooden pieces we all used within our set pieces. So here is the render from Maya with the Normal maps, Occlusion, Diffuse and Specular Maps.

 (Diffuse Map)

 (Normal Map)

 (Occlusion Map)

(Specular Map)

Rendered Final Piece
(Maya)


I noticed that because my Spec Maps were quite high it made my model seem wet or even muddy which wasn't what I was going for. I think this was due to the type of material asset I had used on the model. Later on in the lecture we got introduced to a new program called Ddo and Ndo. Here is a Screenshot from Ddo.

This turned out amazingly, it was my first time using this program and I was quite impressed with it especially Ndo, very helpful with normal mapping. During this assignment I feel like I gathered more of a understanding about Normal mapping then ever before. I look forward to more modelling assignments in the future.  

Sunday, 24 November 2013

Modular EnvironmentBCT13021 - GA1A03
Modular Environment

So when we got the Modular environment Summative I immediately thought of a Sci fi run down environment or a destroyed space station. Since the environment and the particle effect assignments work in conjunction I had a lot to think about in terms of these thing working together. With that idea in mind it also gave me a thought of using particle effects such as sparks and smoke effect to make the scene come to life. I first started to look at run down environments like ancient ruins, space stations etc. I found these images quite useful but some just weren’t what I was looking for. What I was going for was kind of like an environment from the game Mass Effect produced by Bio Ware. So I searched images from the Mass Effect games which turned out great. A lot of useful references images came up and they were pretty much what I’d been hoping for. From there on I went and drew up a few blue prints as concepts for different layouts of the scene.
­­


As I starting building the pieces to my environment I came across a lot of issues such as making sure the pieces snap to grid, also making the corner piece they were the most challenging things to model. It took me a while to get these pieces together but I managed to get some help from fellow class mates who taught me a few tricks which helped a lot. When it came to the floor tiles I was thinking more about what texture to use more than anything, especially when we needed at least 4 texture variables.  There were also some issues where my pieces weren’t snapping to one another which caused a lot of problems and I was worried that I’d have to do everything again.  At one point I had miss read the Brief and didn’t create the window assets as separate piece which I then had to go back and build. This wasn’t that difficult but it was very time consuming having to start it again.

Using textures and finding textures that suit the theme of the environment wasn’t too difficult but in saying this I do having trouble with UV mapping and everything to, diffuse and specular maps. So I tried using a programme called Algorithmic Substance Designer. This programme is quite easy to use and very helpful.  Using the Sci Fi Mood Boards I complied I used that reference to find a suitable texture of my set pieces. There were some tiling issues with the textures that I had to go back and sort through making sure everything was tiling correctly, also going over my models making sure the UV’s are correct.

Here are a few Renders in Maya (WIP) at this stage:

 Three different wall textures
 Main Door
 Corner Piece
Hallway/Entrance

 Final 

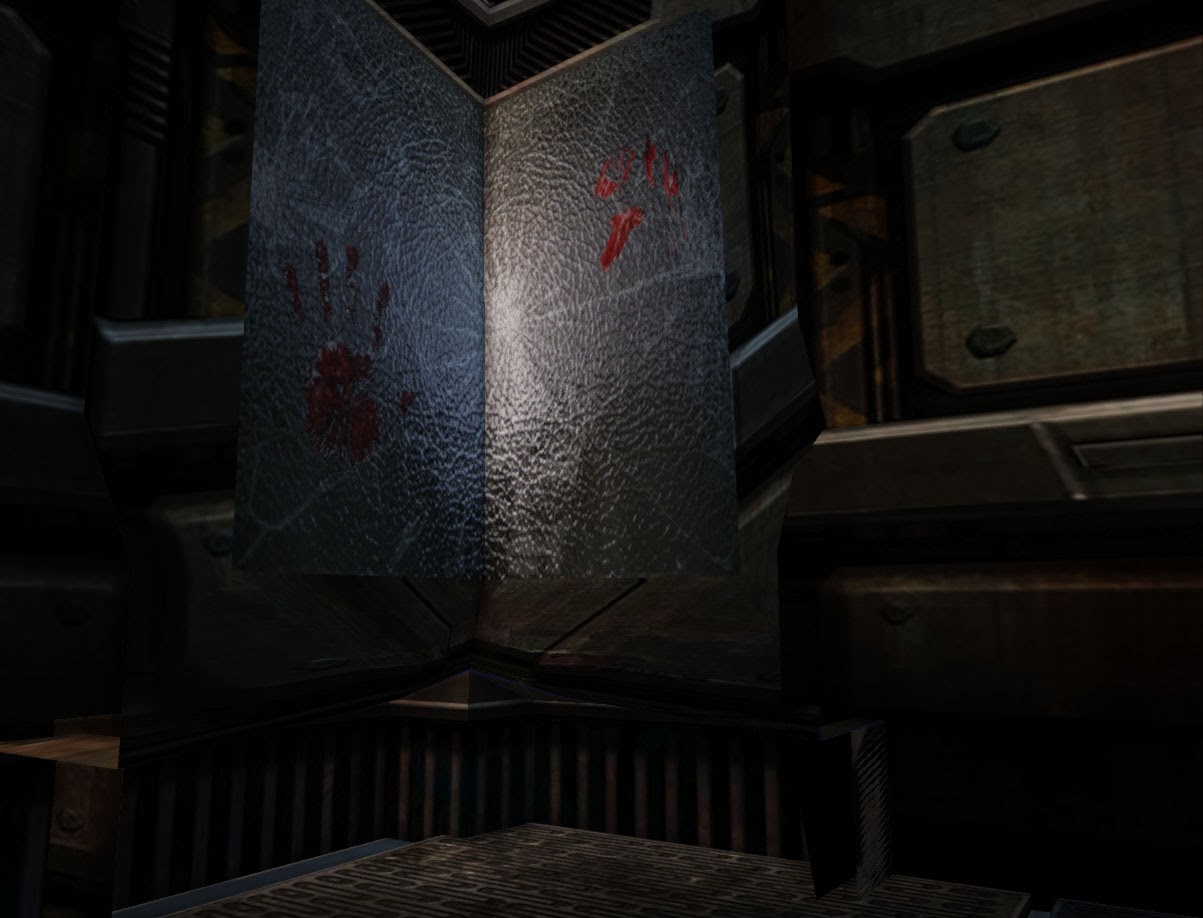
So here are a few screen shots of the final product, it was a shame that I didn't have more time to make more models than the one required in the brief would have made the level so much better. But in saying that it turned out quite well, also I was having issues with the particle system in UDK so unfortunately I had to make the particle effect inside of Cry Engine. The particle effect is of a spark that was originally going to be placed by the doors giving the effect of them being breached or broken. But the environment in my opinion was a success. The reason I had to make these in different engines (the particle and environment) was due to some issues Cry Engine had with importing textures, so I had to build the environment using UDK. That was the only major issue with the importing side of things.

SCREENSHOTS


The level I built was more for an Interior level, not a lot of  outside viewing but I added some in there anyway.


PARTICLE EFFECT

This is the particle effect of a spark in Cry Engine, again sadly disappointed I couldn't solve those issues I was having but in the end i still made a good particle effect that would have looked amazing in the level.