Modular EnvironmentBCT13021
- GA1A03
Modular Environment
So when we got the Modular environment Summative I
immediately thought of a Sci fi run down environment or a destroyed space
station. Since the environment and the particle effect assignments work in
conjunction I had a lot to think about in terms of these thing working
together. With that idea in mind it also gave me a thought of using particle
effects such as sparks and smoke effect to make the scene come to life. I first
started to look at run down environments like ancient ruins, space stations
etc. I found these images quite useful but some just weren’t what I was looking
for. What I was going for was kind of like an environment from the game Mass
Effect produced by Bio Ware. So I searched images from the Mass Effect games
which turned out great. A lot of useful references images came up and they were
pretty much what I’d been hoping for. From there on I went and drew up a few
blue prints as concepts for different layouts of the scene.
As I starting building the pieces to my environment I came
across a lot of issues such as making sure the pieces snap to grid, also making
the corner piece they were the most challenging things to model. It took me a
while to get these pieces together but I managed to get some help from fellow
class mates who taught me a few tricks which helped a lot. When it came to the
floor tiles I was thinking more about what texture to use more than anything, especially
when we needed at least 4 texture variables.
There were also some issues where my pieces weren’t snapping to one
another which caused a lot of problems and I was worried that I’d have to do
everything again. At one point I had
miss read the Brief and didn’t create the window assets as separate piece which
I then had to go back and build. This wasn’t that difficult but it was very
time consuming having to start it again.
Using textures and finding textures that suit the theme of
the environment wasn’t too difficult but in saying this I do having trouble
with UV mapping and everything to, diffuse and specular maps. So I tried using
a programme called Algorithmic Substance Designer. This programme is quite easy
to use and very helpful. Using the Sci
Fi Mood Boards I complied I used that reference to find a suitable texture of
my set pieces. There were some tiling issues with the textures that I had to go
back and sort through making sure everything was tiling correctly, also going
over my models making sure the UV’s are correct.
Here are a few
Renders in Maya (WIP) at this stage:
Three different wall textures
Main Door
Corner Piece
Hallway/Entrance
Final
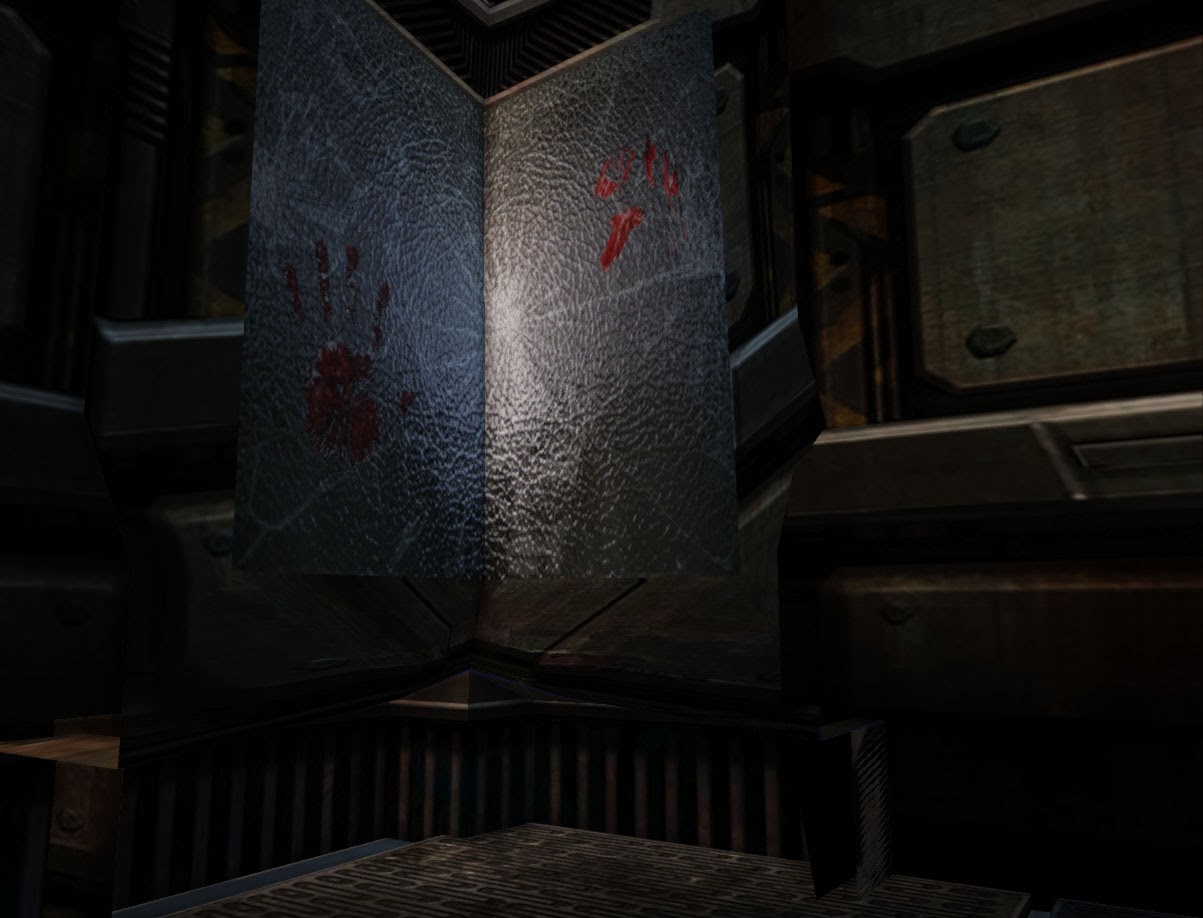
So here are a few screen shots of the final product, it was
a shame that I didn't have more time to make more models than the one required
in the brief would have made the level so much better. But in saying that it
turned out quite well, also I was having issues with the particle system in UDK
so unfortunately I had to make the particle effect inside of Cry Engine. The
particle effect is of a spark that was originally going to be placed by the
doors giving the effect of them being breached or broken. But the environment
in my opinion was a success. The reason I had to make these in different
engines (the particle and environment) was due to some issues Cry Engine had
with importing textures, so I had to build the environment using UDK. That was
the only major issue with the importing side of things.
SCREENSHOTS
The level I built was more for an Interior level, not a lot of outside viewing but I added some in there anyway.
PARTICLE EFFECT
This is the particle effect of a spark in Cry Engine, again sadly disappointed I couldn't solve those issues I was having but in the end i still made a good particle effect that would have looked amazing in the level.


